
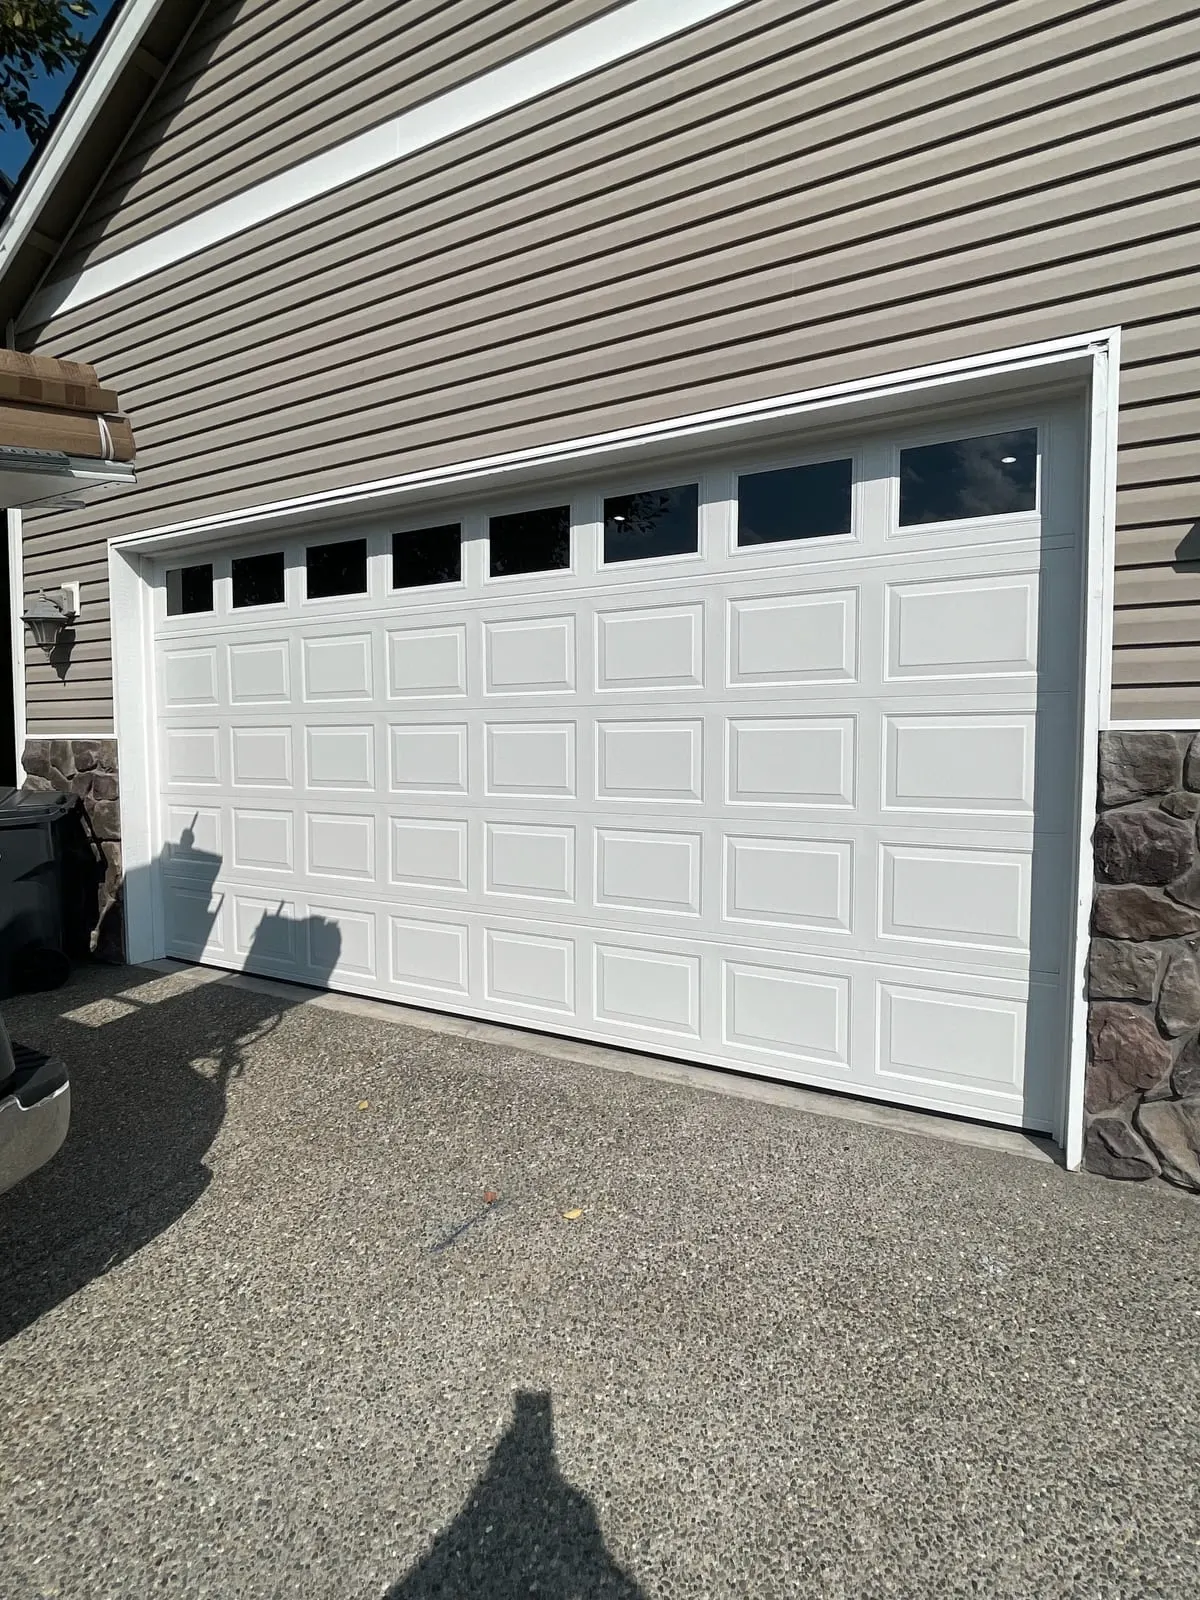
Short answer: check the label, the hardware, and the balance — in that order
Before you sign anything, walk into the garage and look at three things: the wind-load certification sticker on the door's edge, the condition of the springs and rollers, and whether the door holds still when you let go of it halfway up. A general home inspector will glance at the door, open and close it once, and move on. They're not wrong to do that — it's not their specialty, and a garage door is one line item on a long list. But in this part of Florida, a garage door is a structural component as much as an appliance, and skipping these checks can hand you a few thousand dollars of surprise after closing.
The walk-around checklist
1. Find the wind-load label
Every door built for hurricane-prone coastal areas should have a certification sticker somewhere on the inside edge of the door, usually near a hinge or on the end stile. It lists a wind-load rating and sometimes a design pressure number. If you can't find a label at all, the door may predate current wind-load expectations for this area, or a previous owner may have replaced panels without replacing the certification. What it means if it's missing or unreadable: you don't actually know what the door is rated to withstand, which matters a lot more here than it would somewhere inland.
2. Look for rust at the hinges, track bolts, and bottom panel
Salt air works on exposed metal fast, especially anything within a mile or two of open water. Run your hand along the hinges and the bottom few inches of the door. What it means if it fails: surface rust on hinges is cosmetic and cheap to address; rust that's pitted or flaking on the bottom panel or the track itself is a sign of ongoing moisture exposure and often means the door's lower section is weaker than it looks, even if it still opens smoothly.
3. Check the springs — type, age, and tension
Most doors use torsion springs mounted on a bar above the door, or sometimes extension springs along the horizontal tracks. Look for rust, gaps between coils that seem uneven, or a spring that looks visibly stretched compared to its neighbor. What it means if it fails: springs are a wear item with a limited cycle life regardless of how they look. A rusted or mismatched spring set usually means it's closer to failure than a buyer would guess from a quick glance, and spring replacement is routine but not free.
4. Test the balance
Disconnect the opener (pull the release cord) and lift the door manually to about waist height, then let go. A properly balanced door stays put or drifts down slowly. What it means if it fails: if the door drops on its own, the springs are no longer doing their job, which means the opener is compensating and working harder than it should — shortening its own lifespan in the process.
5. Inspect the rollers and track alignment
Look at the rollers themselves (nylon or steel) and run your eye along the tracks for gaps, dents, or spots where the door seems to wobble as it travels. What it means if it fails: worn rollers or a slightly bent track often still let the door open and close, which is exactly why inspectors miss them — but they cause premature wear on the opener and increase the chance of the door jumping track during storm winds.
6. Check the weatherstripping and bottom seal
Press on the rubber seal along the bottom of the door and look for cracking, flattening, or gaps where daylight shows through. What it means if it fails: given the afternoon downpours typical here, a worn seal lets water track in under the door and sit against the slab, which contributes to swelling in wood-composite panels and standing moisture that invites mold.
7. Test the auto-reverse safety feature
Close the door using the opener and place a block of wood (a 2x4 works) in its path. The door should reverse on contact. Also check the photo-eye sensors near the floor on each side of the track — cover one with your hand while the door is closing and confirm it reverses. What it means if it fails: this is a safety issue, not a cosmetic one, and it's often as simple as a misaligned sensor — but it needs to be fixed before anyone relies on the door around kids or pets.
8. Look at the opener's age and condition
Check the motor housing for a manufacture date or model sticker, and listen for grinding or straining sounds during a cycle. What it means if it fails: an opener nearing the end of its life in a humid environment tends to fail faster than the same unit would inland, since moisture affects the circuit board and chain or belt components.
9. Check the slab and door bottom for water staining
Look at the concrete just inside the door line for discoloration, efflorescence (a white, chalky residue), or a slightly raised threshold that suggests someone already fought a water intrusion problem. What it means if it fails: this often points to drainage issues around the garage that a new coat of paint won't fix, and it's worth asking the seller directly about it.
When to call Summerland Key Overhead Door Co
If you're under contract and want a second set of eyes before closing, or if the walkthrough above turned up a spring that looks tired, a wobbly track, or no wind-load label at all, that's exactly the kind of pre-purchase check we do. We can confirm whether a door's wind-load rating actually matches current expectations for this area, handle Garage Door Spring Repair if the springs are on their way out, or recommend a full Garage Door Replacement if the door's age and condition mean repairs would just be delaying the inevitable.
If you're buying or already settled in Summerland Key, Big Pine Key, Cudjoe Key, Sugarloaf Key, Ramrod Key, Little Torch Key, Key West, or Stock Island, give us a call before you assume the garage door is a non-issue — we'll tell you straight whether it's fine, fixable, or something to negotiate on.